Advanced Video Conversion Made Simple
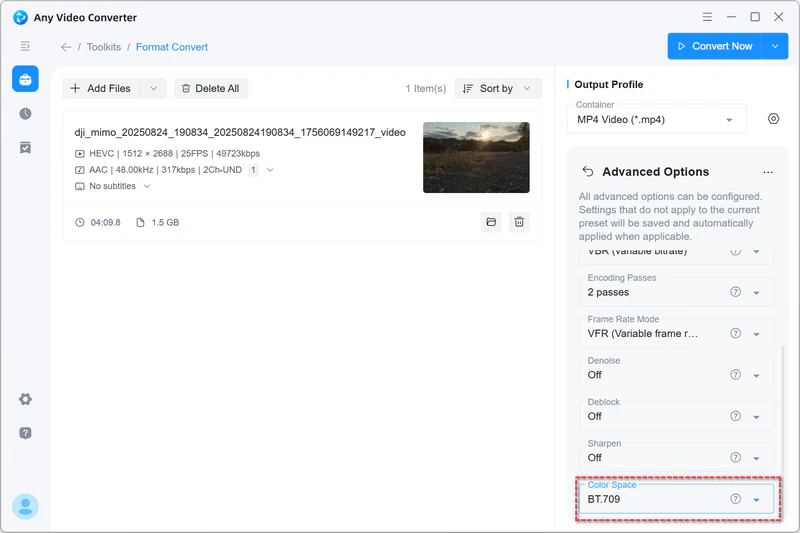
Any Video Converter V9.2.5 adds Advanced Options to the Format Convert tool, giving you more control over deinterlacing, encoding passes, scaling mode, bitrate, frame rate, and the denoise and sharpen filters.
In most cases, you won't need to touch these. So if you're not sure what a setting does, leave it at the default — the defaults produce good results for ordinary conversions.


Any Video Converter supports the following advanced options
- Scan Type (inverse telecine, auto-detect deinterlace, Yadif, Bwdif)
- Display Aspect Ratio (4:3, 16:9, 16:10, 1.85:1, 2.35:1)
- Scaling Mode
- Video Bitrate Mode (VBR, CBR)
- Encoding Passes (1-pass, 2-pass)
- Frame Rate Mode (CFR, VFR)
- Denoise
- Deblock
- Sharpen
- Color Space
Where to find the Advanced Options?
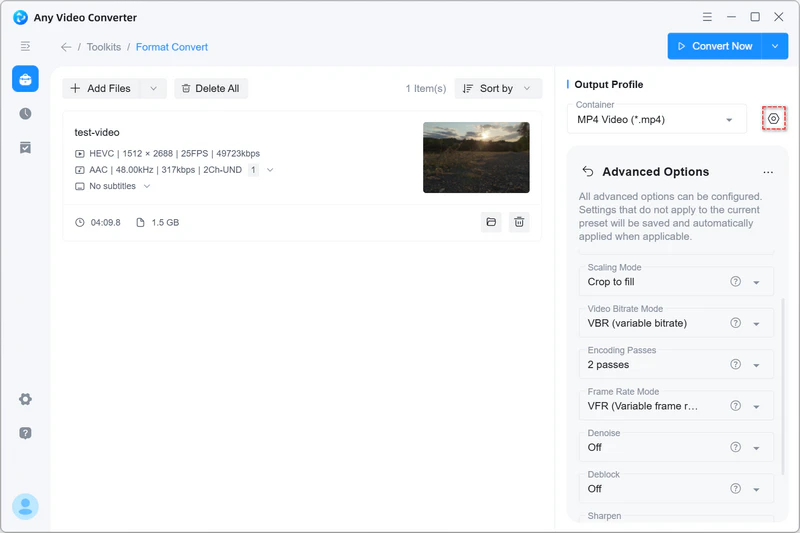
Open the Format Convert tool and import your videos, then go to the Output Options panel on the right. Click  icon next to the video container to open Advanced Options. Everything starts at its default, so you only need to change the settings you care about.
Understanding the Advanced Options
Scan Type
Scan Type is used to handle interlaced video and film-to-video (telecine) content, removing combing artifacts and restoring smooth motion. If your source is progressive with no combing, leave this off.
⭐ Off
No processing. Recommended for progressive sources — most modern footage from phones, cameras, and streaming.
⭐ Inverse telecine
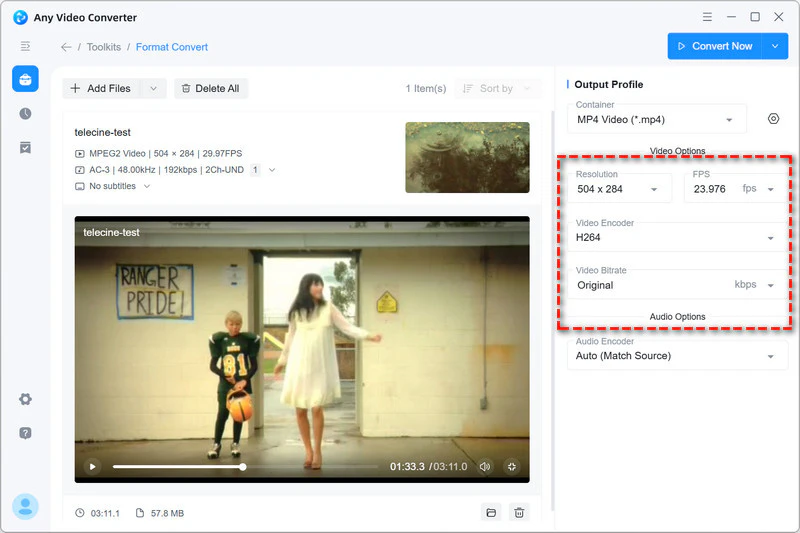
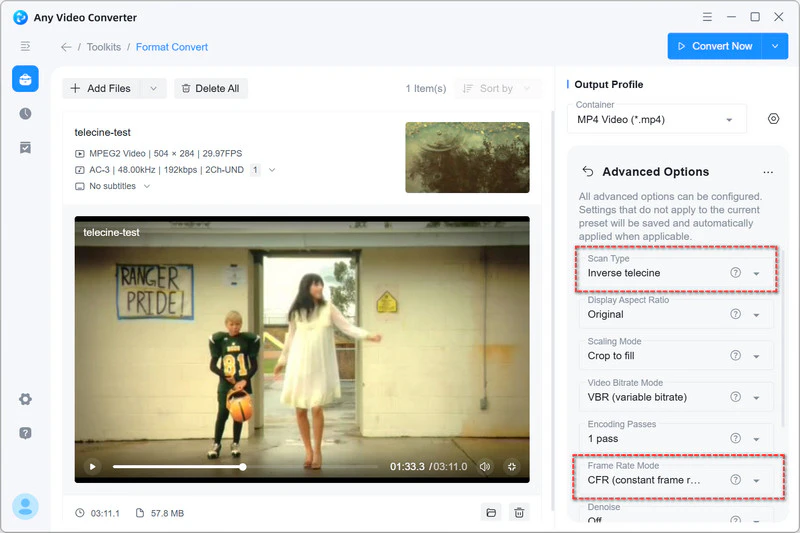
It is primarily used for video converted from ~23.976 fps film to 29.97 fps, to remove the duplicate fields introduced during the telecine process and restore the original film frame rate and cadence.
Recommended basic settings for inverse telecine video:
Recommended advanced settings for inverse telecine video:
⭐ Auto-detect and deinterlace
Automatically detects interlaced footage and applies the selected deinterlacing method only when interlaced frames are detected. Turn on this option if your videos show "comb" artifacts or horizontal lines along the edges of moving objects, or if they contain a mix of progressive and interlaced material.
- Bwdif Recommended for most interlaced video. It's a motion-adaptive processing method that preserves detail and produces smoother results.
- Yadif. A simpler, widely compatible method. Try it if Bwdif doesn't give you the result you want.
Recommended advanced settings for interlaced video:
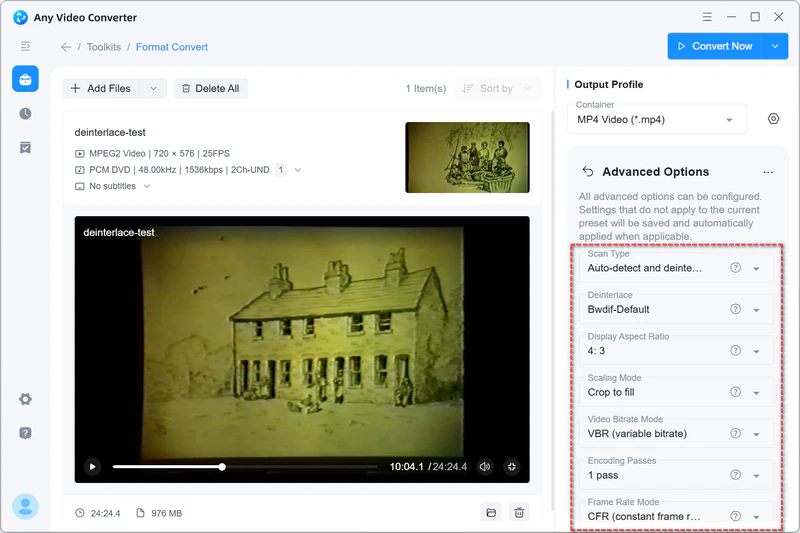
Display Aspect Ratio
Sets the width-to-height proportions of the output.
- Original. Keeps the original display aspect ratio. Recommended for most videos.
- 4:3. Standard format for older TVs, DVDs, and classic videos.
- 16:9. Standard widescreen format for modern TVs, monitors, and online video.
- 16:10. Common display format for computers and some tablets.
- 1.85:1. Common theatrical widescreen format used by many films.
- 2.35:1. Ultra-wide cinematic format used for a wider film presentation.
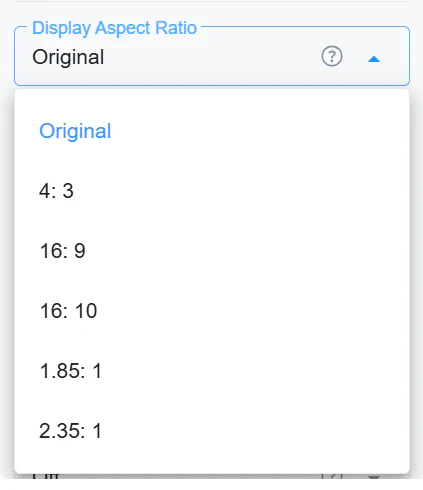
Scaling Mode
If the source and target aspect ratio are different, you can choose a scaling method that determines how the picture fits the output frame.
- Add black bars. Adds black bars to fill the frame.
- Stretch to fill. Stretches the picture to fill the entire frame, but the picture may appear distorted.
- Crop to fill. Crops the parts of the picture to fill the frame without distortion.
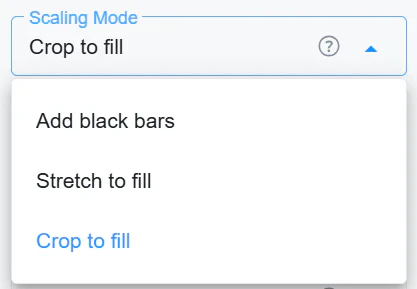
Video Bitrate Mode
Think of bitrate as a budget which determines how the video encoder spends it throughout the video.
- VBR (variable bitrate). Spends the bitrate based on the scene complexity for the trade-off between quality and file size, which means spending a higher bitrate for complex scenes and lower for simple ones.
- CBR (constant bitrate). Spends the same bitrate throughout the whole video for predictable bandwidth. Recommended for live streaming and devices (older TVs, media players, and other hardware) that require a fixed rate.
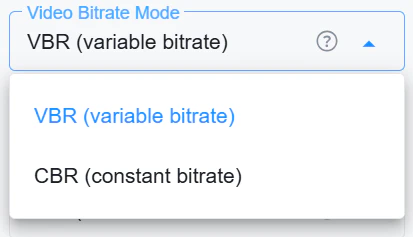
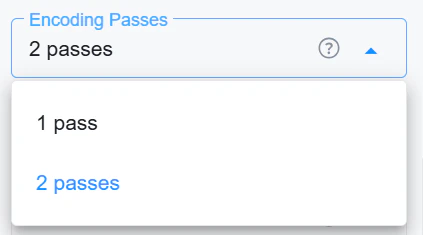
Encoding Passes
Determines how many times the encoder works through your video.
- 1-pass. Encodes in a single run. Faster, and fine for everyday exports.
- 2-pass. Analyzes first and distributes bitrate more accurately. Slower, but recommended when you're targeting a specific file size or average bitrate.
Frame Rate Mode
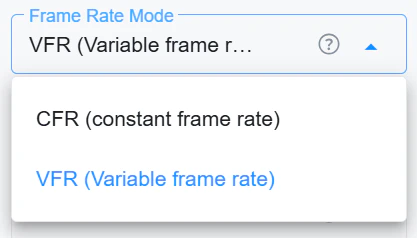
Determines whether the output keeps a steady frame rate or lets it vary.
- CFR (constant frame rate). Keeps a fixed frame rate throughout the video. Recommended for video editing and hardware playback. It's the safer choice to ensure audio sync and better compatibility.
- VFR (variable frame rate). Allows frame timing following the source and vary with the content, dropping duplicate frames to reduce size. Recommended for screen recordings and sources with uneven timing. Avoid it if the file will be imported into an editor.
Denoise
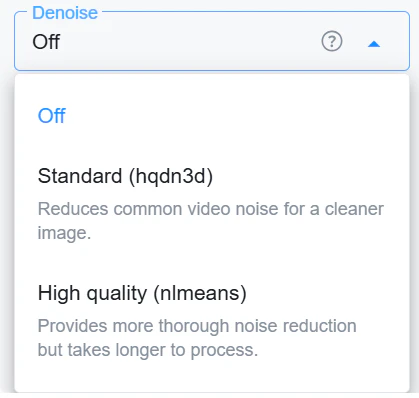
Reduces noise or grain from the video to make it cleaner. Note that the stronger level may soften the edges and fine details.
- Standard (hqdn3d). Fast, light cleanup for everyday footage.
- High quality (nlmeans). Stronger noise reduction that preserves edges and details. Recommended for low-light or heavily grained footage, but slower processing.
For stronger noise reduction and AI-assisted detail enhancement, you can try the dedicated Denoise model in the AI Video Enhancer tool.
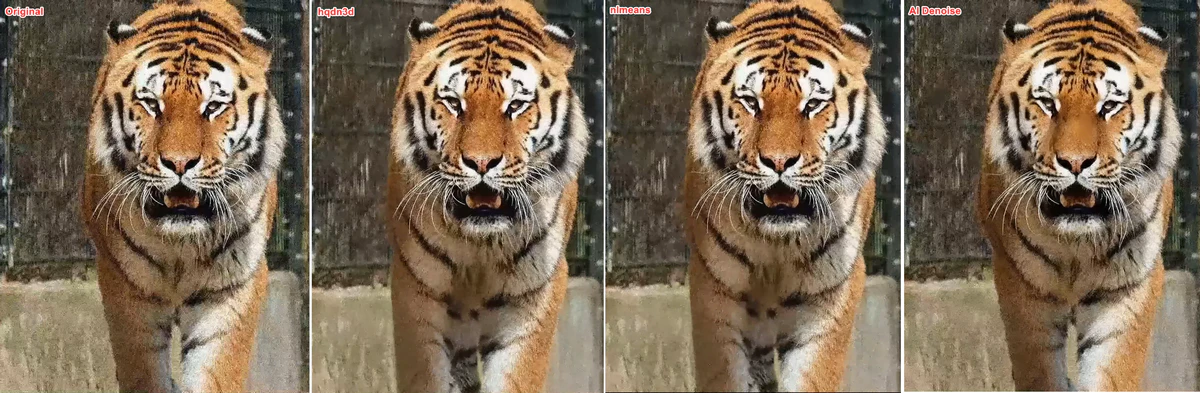
Note: The AI Denoise model is available separately in the AI Video Enhancer tool.
Deblock
Reduces the blocky artifacts caused by heavy compression in low-quality videos. Recommended for low-bitrate videos like old downloads or heavily re-encoded clips.
- Off. No deblocking. Recommended for clean or high-quality sources.
- Very light. Slightly, but keeps fine detail intact.
- Light. Reduces mild block artifacts with minimal softening.
- Medium. Balanced reduction, best for footage that's visibly compressed.
- Strong. Heavier deblocking, best for badly compressed footage.
- Very strong. Reduces severe blocking, but may blur fine details.
Sharpen
Enhances edges and fine details to make soft video appear clearer. Stronger levels may bring noise or create halos.
- Off. No sharpening filter applied. Recommended for footage that's already sharp and crisp.
- Ultralight. Barely perceptible sharpening while keeping a generally natural look.
- Light. Gentle sharpening to make video slightly crisper.
- Medium. Moderate sharpening, best for footage that looks noticeably soft.
- Strong. Pronounced sharpening that clearly defines edges and detail.
- Stronger. Heavier sharpening for very soft footage. May create slight halos and noise.
- Very strong. Maximum sharpening. Use with caution, as it may create noticeable halos and amplify noise.
Color Space
Tells players how to interpret the video's colors. Keep it on Auto unless you really need to; otherwise, a mismatch may shift colors noticeably.
- Auto. Automatically selects the color space from the source and output settings. Recommended for most videos.
- BT.2020. Wide-gamut space for Ultra HD and HDR. Choose only if your source, encoder, and hardware all support it.
- BT.709. The standard for HD and most modern SDR video (720p, 1080p), and typical online videos.
- BT.601 SMPTE-C. Standard-definition space for NTSC video, mainly North America and Japan.
- BT.601 EBU. Standard-definition space for PAL and SECAM video, mainly Europe and elsewhere.