
User Guide: Any Video Converter
Watermark Video: How to Add Watermarks to Videos
Watermarks are an essential tool for content creators, as they help to protect their intellectual property from theft and ensure brand recognition. With Any Video Converter's video watermarking tool, users can easily add logos, text, and images to their videos, making it an ideal solution for businesses, marketers, and anyone else looking to protect their content.
Locate the Add Watermark Tool
Locate the Add Watermark tool from the main interface and open it.

Upload a Video
Import a video from your computer to the program.

Add Image or Text Watermark
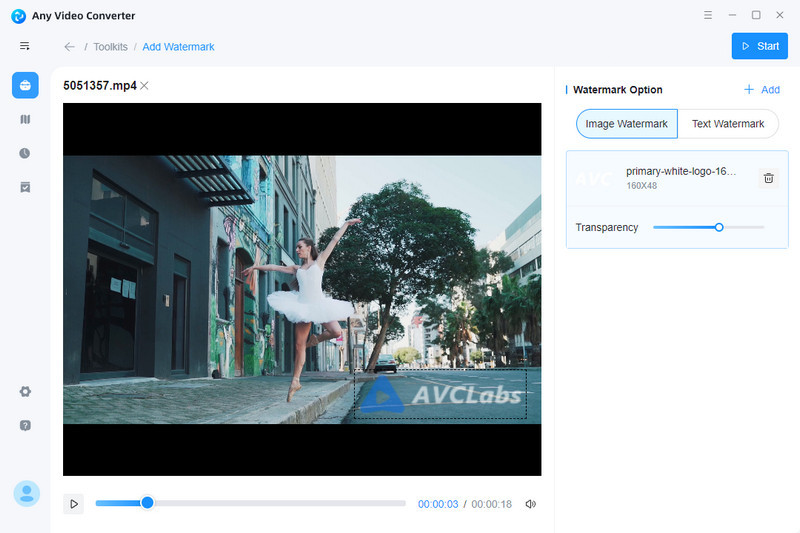
1. Image Watermark
To add an image watermark, under the Image Watermark tab, you can click the "+Add" button or drag and drop an image. Then, use the slider to adjust the watermark's transparency and reposition the image as needed. To add additional watermarks in different locations, click the "+Add" button.
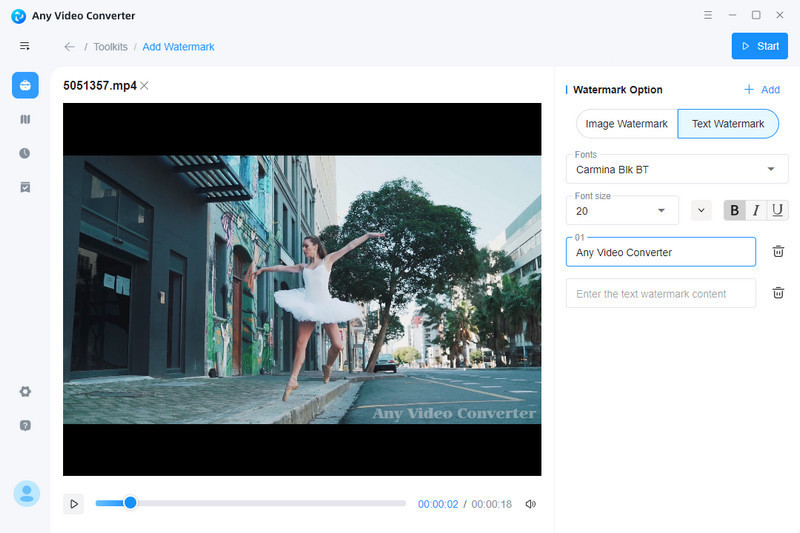
2. Text Watermark
Under the Text Watermark tab, type in the text you want to use. Adjust the font style, size, and color of the text within the watermark, and change the position by dragging the outline of the watermark. And you can click "+Add" button to add more text watermarks.
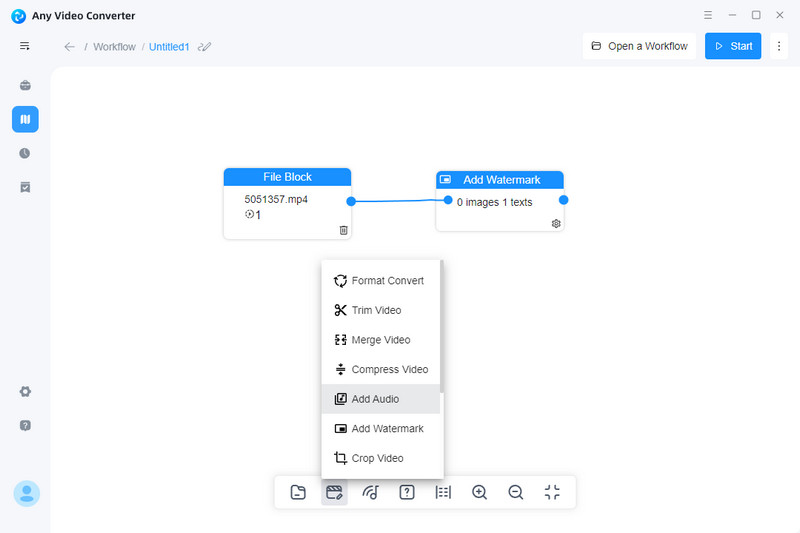
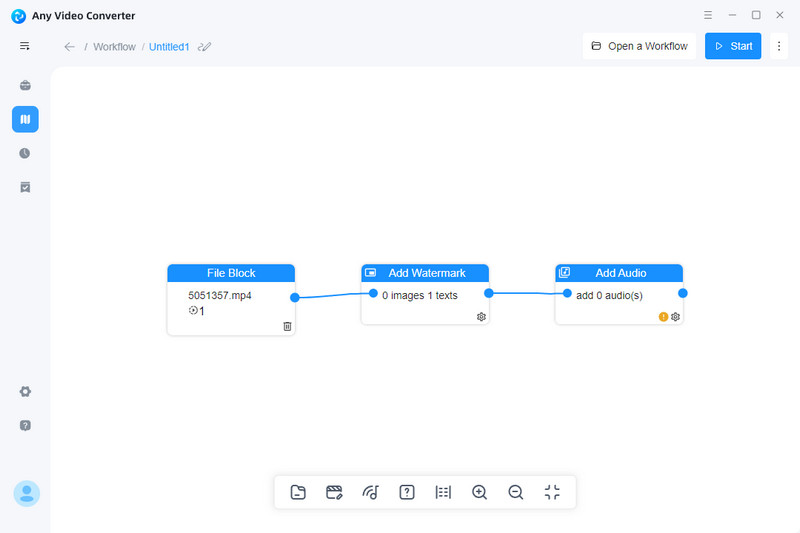
Save the Result or Customize a Workflow
Click the Start button to process the video.
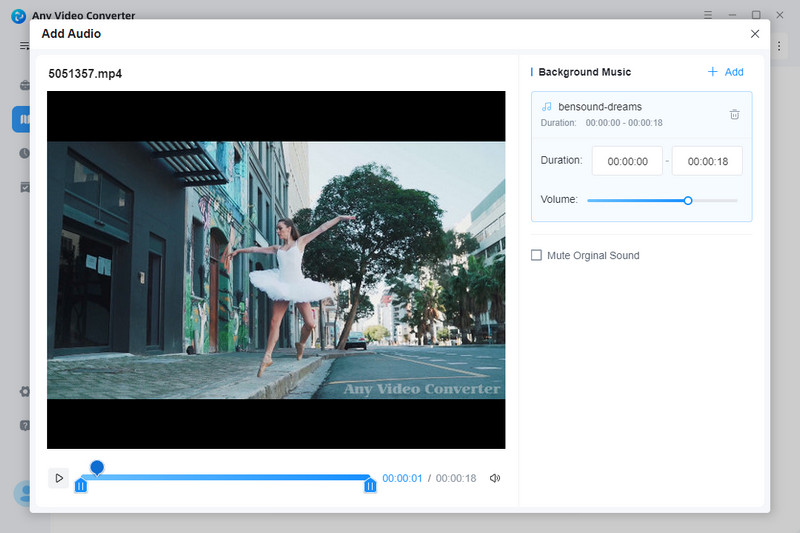
You can also hit the Workflow tab in the left toolbar to add this project to workflow. For example, you can add the Add audio tool to add background music to the video.
 Get Started
Video Tools
- Video Converter
- Video Cutter
- Video Cropper
- Video Merger
- Compress Video
- Record Video
- Trim Video
- Overlay Video
- Add Subtitle
- Extract Track
- Burn Video
- Change Video Speed
- Speech to Text
- Video Downloader
- Adjust Color
- Watermark Video
Audio Tools
Workflow Tools